What You Need to Know About Staining Wood Windows
Read through these wood window staining tips and get guidance for your next project from the window experts at Pella.

KEY TAKEAWAYS
- Properly staining wood windows enhances their appearance and protects them from damage, ensuring longevity and smooth operation.
- The staining process involves sanding, cleaning, applying pre-stain conditioner, staining, and finishing with a protective varnish or paint.
- Choosing the right stain or paint, especially for exterior use, is crucial for durability, and Pella offers prefinished options to simplify the process.
Staining a wood window not only keeps it looking great aesthetically, but it helps protect your window from damage and keeps it functioning properly for years. Read on for expert know-how on proper wood window maintenance.
How to Stain Wood Windows
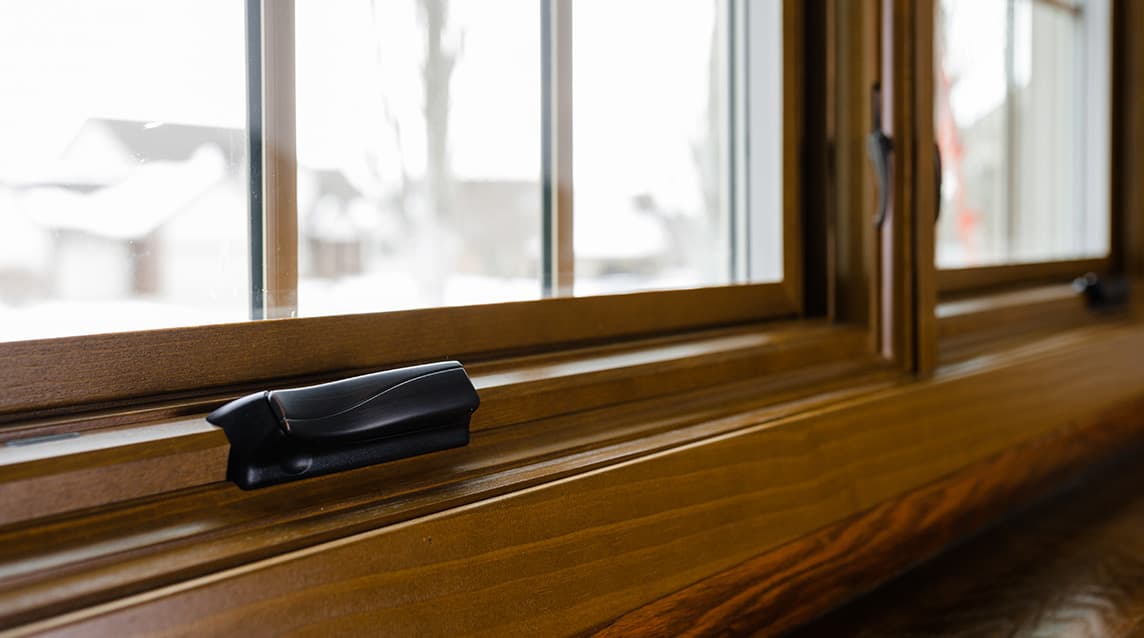
Painting and staining color trends come and go, but a stained wood window will always be a classic way to bring warmth and natural texture into any home. If you would prefer to have a professional stain your wood window, you can order finished wood trim from Pella to ensure an exact match. If you would prefer to do it yourself, you can stain a wood window at home by following the expert advice below.
Choosing a Wood Stain
Wood stain colors come in a variety of shades. Whereas paint adds color or contrast to a home, wood stain creates a smooth, satiny and natural look. For interior wood stain, a white stain works beautifully when you are working with oak and can help you achieve the modern farmhouse look. Gray and black stains are a popular choice for contemporary homes. Lastly, brown stains work well for traditional interiors.
How to Stain Wood Windows Frames
Staining wood windows doesn’t require expensive tools or extensive education. Our step-by-step guide will help you achieve a flawless finish. First, gather all the materials you will need to complete your project.
Materials Needed:
- Sandpaper
- Several rubbing cloths
- Vinegar-based cleaning solution
- Water
- Pre-stain wood conditioner
- Wood stain (your choice of color)
- Cotton rags
- Oil-based wood varnish for finishing
- Soft staining brush
- Dry brush
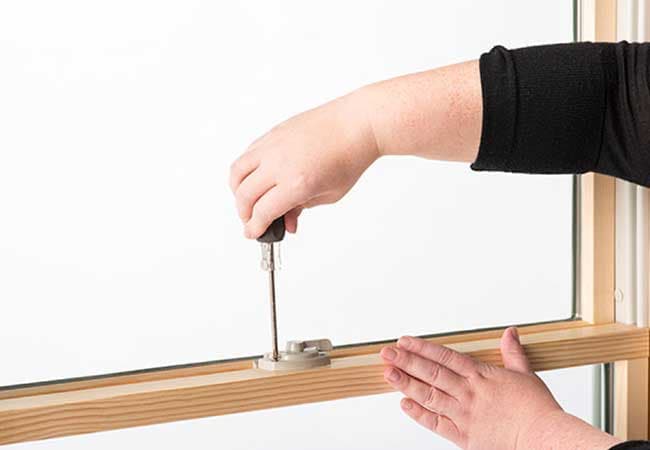
Step 1. Project Setup
Break down the window into its primary components. This will vary based on the type of window you have, so you will need to refer to the product instructions. To avoid getting stain on the glass, be sure to use painter’s tape to keep clean lines. Remove hardware and any other detachable pieces that are on the surfaces you plan to stain.
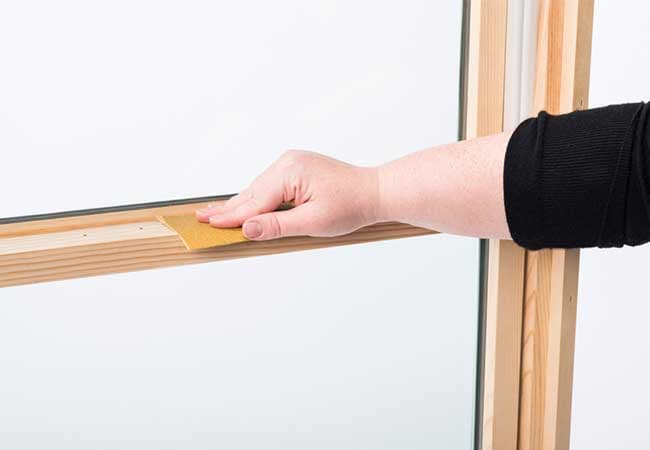
Step 2. Prep the Wood Surface
Prep the wood window surfaces by lightly sanding with the grain of the wood. Use 180-grit or finer sandpaper and work in the direction of the grain until imperfections, rough spots or construction residue are gone. For tight spots, use a folded piece of sandpaper and avoid touching the glass with the sandpaper. Remove all sanding dust with a tack cloth before applying the finish. Caution: do not use steel wool as the fibers might get caught in the surface of the wood and rust when exposed to moisture.
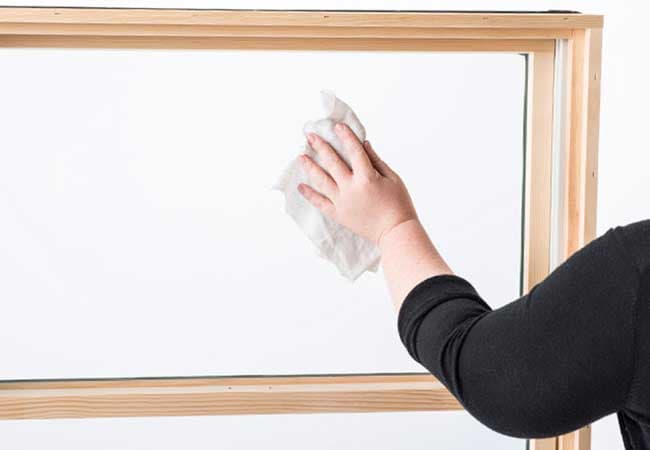
Step 3. Wash the Window
Step 4. Mask the Window Glass
Mask off the glass with tape and paper as well as any other areas that need to be protected from the finish before you begin treating the wood.
Step 5. Apply a Pre-Stain
Use a good-quality pre-stain wood conditioner to reduce the possibility of a blotchy-looking or uneven finish. Ask your paint professional to recommend a pre-stain wood conditioner, stain and finish coat for windows and doors. Apply the pre-stain conditioner according to the manufacturer’s instructions.
Step 6. Apply an Interior Wood Stain or Painted Interior Finish
For wood stains: Evenly apply your stain based on the stain manufacturer's recommendation. Multiple coats may be necessary to get your desired color. Using a liberal coat is a quick and effective way to saturate the wood with stain.
You can wipe off the excess with clean cotton rags and use a dry brush to clean stain from cracks and crevices. Avoid getting paint in the breather or weep holes on the window sash, or any other finishing products on the weather-stripping or any vinyl parts, which may compromise performance. If paint, stain or finish does get on the mohair weather-stripping, blot the weather-stripping thoroughly with a rag, allow it to dry, then flake off any residue with your fingernail.
If your window or patio door has a removable interior glass panel, remove it according to the manufacturer’s instructions and finish the wood between the panes, in addition to the room-side wood; make sure the finish has fully cured (according to the manufacturer’s instructions) before reinstalling the glass panel.
On double-hung windows, do not paint, stain or finish the vertical sash edges (the wood part that slides up and down against the frame), which may cause the sash to stick.
For painted interior finishes: The most important thing to look for when choosing your paint is good blocking resistance — the paint’s ability to resist sticking. Failure to use a high-quality, non-blocking paint may result in a window or door that sticks shut even after the paint has dried
Ask a qualified paint professional or nearby extension office to help you find a paint with good blocking resistance; a high-priced or name brand can of paint doesn’t necessarily mean good blocking resistance. Also ask your paint professional to recommend a wood primer and paint that are compatible, and if sanding is required between coats of paint.
Read and follow the manufacturer’s directions for using your finishing products. Be sure to apply one coat of a quality wood primer before applying two coats of a high-quality paint with good blocking resistance.
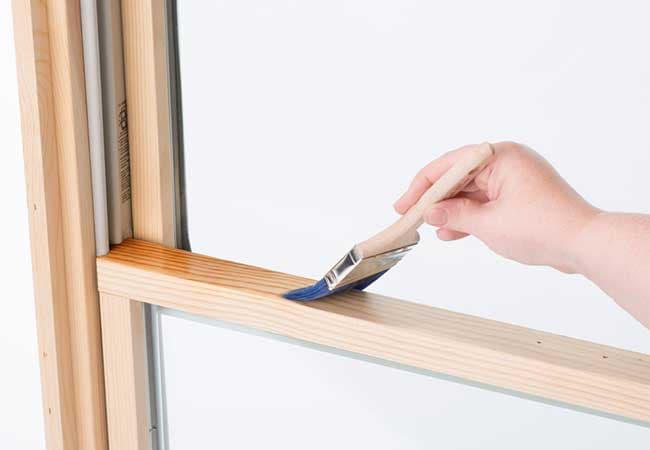
Step 7. Apply a Wood Window Varnish
Finish by applying an appropriate amount of exterior-grade finishing coat, such as polyurethane based on the manufacturer's instructions. Multiple coats may be necessary to get your desired look and performance.
After finishing with paint, stain or clear coat, allow the windows or doors to cure completely — per the manufacturer’s directions — before closing them or reinstalling patio door panels or removable interior glass panels.
Additional Tips for Staining Wood Products
Now that you’ve stained your wood window frames, there might be additional wood features you want to stain as well.
Finishing Removable Wood Grilles
Grilles should be removed before finishing and sanded lightly with 180-grit or finer finishing sandpaper. As with window frames, always sand with the grain of the wood.
Before you begin finishing, determine which side of the grille will face the room. The side that slides over the brass tack will face the exterior; the longer, tapered side will face the interior.
For a stained or natural finish, follow the same steps as the stained interior finish. For a painted finish, use the same primer and paint as used for the interior and/or exterior of your windows or doors. Whatever finish option you choose, be sure to finish the grille ends to help control potential condensation.
Finishing Exterior Window Trim
Paint wood exterior windows immediately after installation as the factory-applied primer is not intended to last long.
Follow the steps for painting as instructed above and use two coats of a quality exterior trim paint. When it comes to the final step for exterior wood products, do not use wood stain or varnish as these finishes will not provide sufficient protection from the elements. Instead, ask a qualified paint professional or nearby extension office to help you find a final coat that will protect your window from the elements.
What’s the best window stain or paint choice?
Buyers beware — exterior house products can vary greatly in terms of endurance. Considering all the weather elements outdoor paints and stains are exposed to, it’s important to buy a product that’s designed to stand the test of time for window and door projects, at least four to five years.
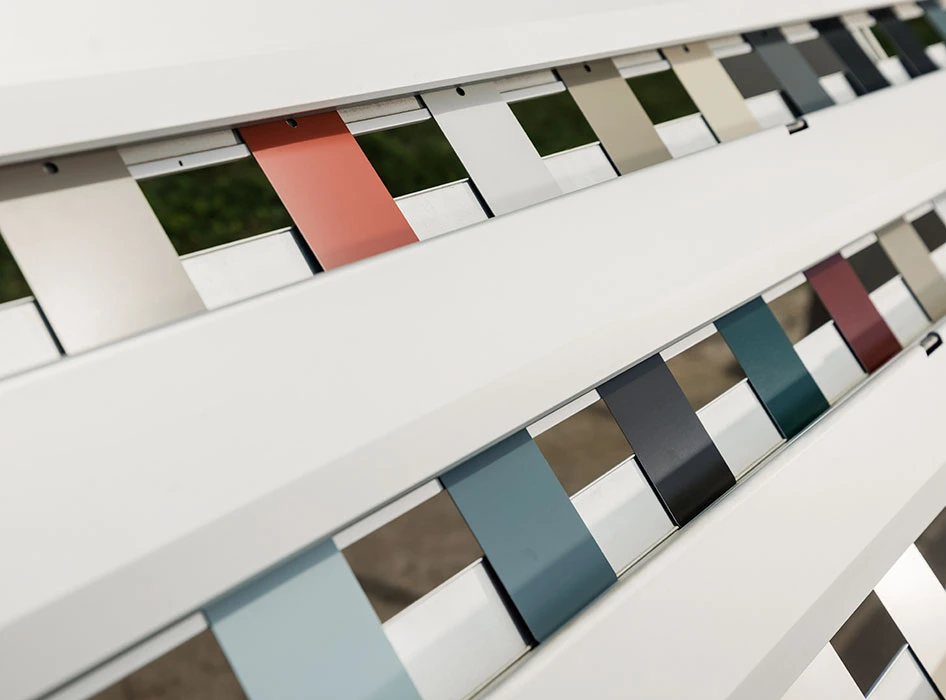
If you don’t want to fret over the right stain or paint choice, you can order prefinished products. All Pella wood windows are available in a variety of prefinished stain and color choices.
General Tips for Staining Wood Windows
- Failure to use the right type of paint will result in a window that sticks shut — even after the paint has dried.
- Remember, aluminum-clad exterior windows, doors or patio doors need no painting or staining.
- In general, exterior window and door paint projects do not require a primer before painting.
- When in doubt, follow the instructions provided by the paint or stain manufacturer or ask a qualified professional for help.
Staining your wood windows isn’t overly complicated, it just takes a little know-how.